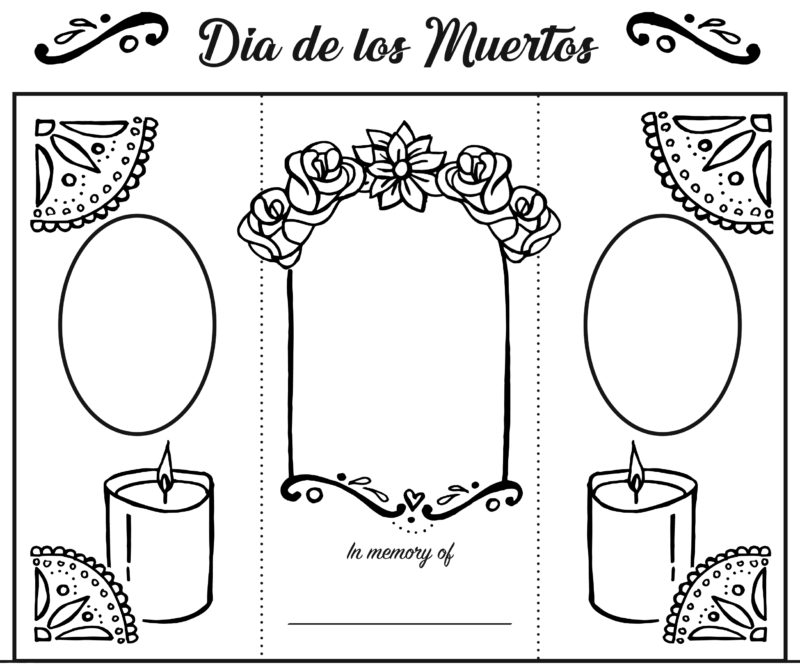
Traditionally a Día de los Muertos altar is an intentional space dedicated to a person or people that have passed away. Use this activity sheet to create your own altar in memory of someone that has passed. You can include anything you want to celebrate them; photos, foods they like, flowers, etc. There is no right or wrong way to use this template to remember a love one!
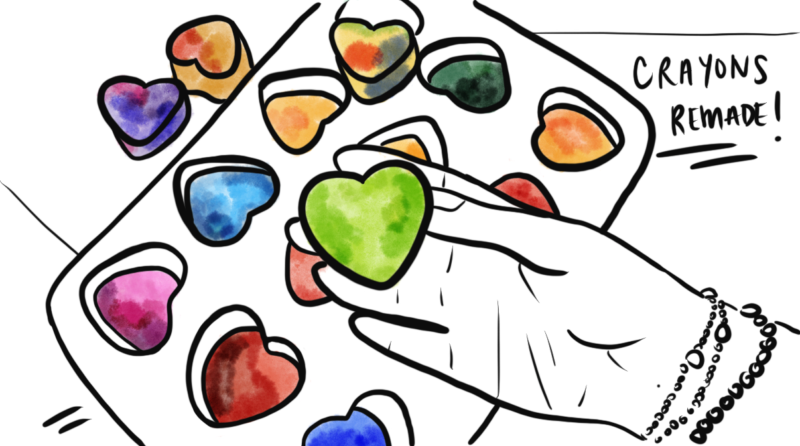
Recycle your old crayons into crazy color combos. Reimagine your color capabilities!
What you will need:
Crafting space and tray to peel and snap crayon pieces
Broken crayons
Silicone baking mold or mini cupcake pan with paper cups
Old cookie sheet (to protect from spills)
Oven mitt
Oven (permission to use it and/or adult help)
Begin Creating:
Prepare your crafting space by laying down some junky paper or cardboard to protect your work surface from crayon bits. I laid out a piece of parchment paper on a cutting board at my kitchen counter.
Preheat Oven to 275 F degrees. Ask an adult’s permission and help to use the stove. Using the oven requires responsibility, don’t forget to set the timer and turn the stove off when you’re done.
Remove all paper from crayons and sort by color. I like to keep mine in baggies and store what I don’t use for next time.
Fill each cup mold with different colors of broken crayon pieces. If using the baking mold, put it on the old baking sheet. Alternatively, if you’re using the mini cupcake pan with paper cups, it’s fine by itself, without a cookie sheet under it. I try not to overfill my cups, we don’t want to have an overflow of melted crayons! I want you to think creatively about your color combos. You can try matches you find in nature, like colors of your favorite objects and clothing patterns, or new ideas you make up. You can line them up in a cup, try stacking crayon pieces in a certain way, or by color.
Bake in the oven for 7-8 minutes. I used the silicone mold to make my crayons and baked them on an old cookie sheet. I used the same parchment paper from the cutting board on the cookie sheet (after dusting it off over the trash can of all the crayon bits). I wait until they are just-completely melted.
Remove the tray from the oven. Using your oven mitt, remove the tray and place on the stove top to cool for 30 minutes.
Pop them out and get coloring! Don’t forget the clean up 😉
Share your creation with us! Facebook, Instagram or email it to admin@therac.org
Create Self-Portraits in the style of Pablo Picasso!
Category: Mix media painting and drawing
Materials: Common drawing or painting media can be used. We recommend watercolor paint and crayons or oil pastels. You will also need paper, a sketching pencil and an eraser.
Note: Crayon can be used to trace and color select areas as well as add shapes to your background. The crayon will resist the watercolor, like a barrier, allowing you to do different colors on different areas without mixing. But mixing is fun too. Enjoy!
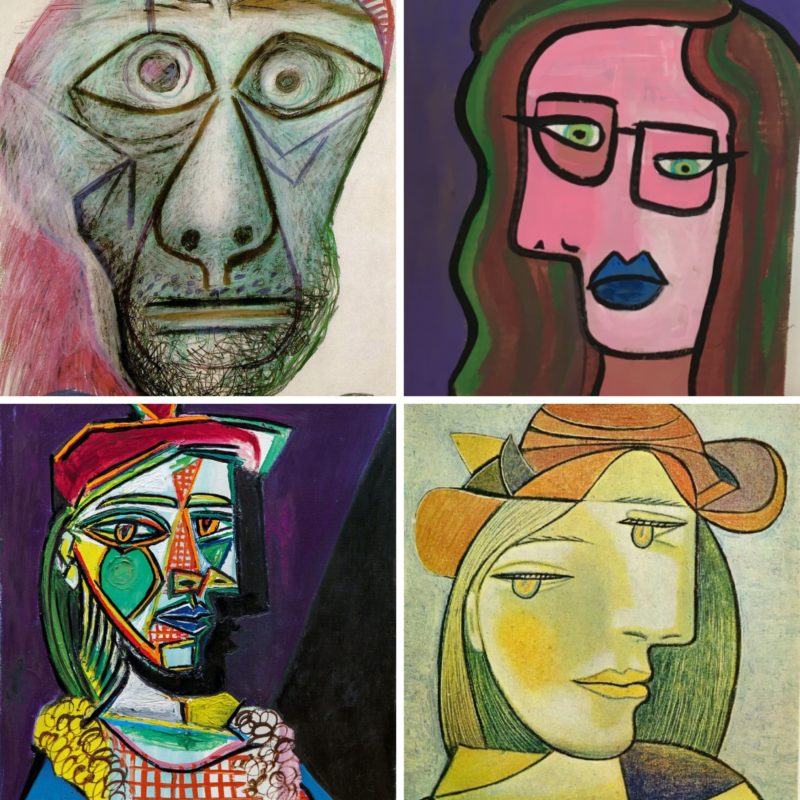
Inspiration for your self-portrait: Look at portraits by Pablo Picasso and discuss what you see! View more of Picasso’s self-portraits here. – What do you notice? – What colors do you see? – What shapes do you see? – How are later works different from his early works? – How does does these works make you feel?
Instructions
Step 1:
In pencil, draw your head, any shape will work. You can use a mirror or draw from your imagination.
Step 2:
Add your facial features, eyes, nose, mouth, etc. Try to use shapes you noticed in your discussion.
Step 3:
Add your hair. What lines can you use to look like hair?
Step 4:
Add color, drawing lines and filling shapes in parts of the face, hair and background.
Share your creation with us! Facebook, Instagram or email it to admin@therac.org